
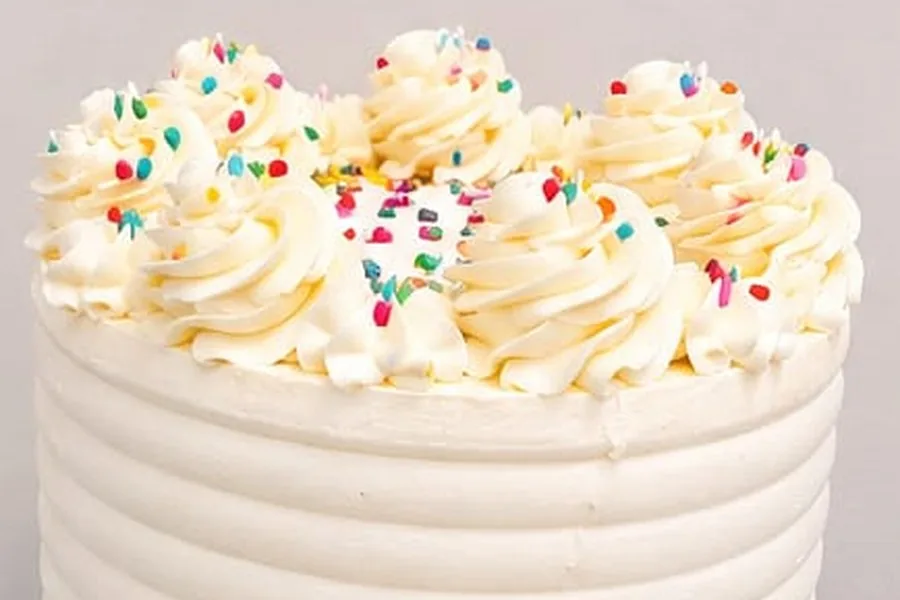
A smooth buttercream cake looks like it needs a steadier hand than yours. It does not. It needs a level cake, buttercream at the right temperature, and the patience to chill it between coats. That is most of it.
Start with a level cake
No amount of buttercream hides a domed or lopsided cake, and every bump you leave underneath shows through the final coat. Let your sponges cool completely, then slice the dome off each one with a long serrated knife, cutting a little at a time and turning the cake as you go rather than pushing the knife straight through.
Stack the layers with the flattest cut side facing up and press each one down gently and evenly. Check the whole thing at eye level, not from above. A cake that leans by a few millimetres at this stage leans a lot more once it is finished.
Beat the air out of your buttercream
Buttercream comes out of a mixer full of tiny air bubbles, and those bubbles are what tear holes in an otherwise perfect finish. Before you use it, work it by hand: press it against the side of the bowl with a spatula for a minute or two. It will look duller and feel denser, and it will spread far more smoothly.
Consistency matters as much as anything. Too stiff and it drags the cake apart; too soft and it will not hold an edge. On a warm Cape Town afternoon buttercream goes soft quickly, so work in short sessions and put the bowl in the fridge for ten minutes when it starts to feel loose.
The crumb coat is meant to be thin
The crumb coat is not a first attempt at the final finish. It is a thin layer whose only job is to trap loose crumbs so they never reach the outside. You should still be able to see the cake through it in places. That is correct, not a mistake.
Then chill it. Twenty to thirty minutes in the fridge, until the surface is firm when you touch it. Skipping this one step is the most common reason a finish ends up streaked with crumbs.
The final coat, and holding the scraper still
Put on more buttercream than you need, all the way round and over the top, so there is something to take away. Then, with the cake on a turntable, hold a bench scraper upright against the side, keep your hand still, and turn the turntable. The instinct is to move the scraper around the cake. Do not. The scraper stays; the cake moves.
Go round several times, wiping the scraper clean each time. Fill any gaps that appear and go round again, keeping the scraper at the same angle throughout: upright against the side and resting lightly on the board.
Sharp edges
Once the sides are smooth there will be a ridge of buttercream standing proud of the top edge, all the way around. That ridge is where a sharp edge comes from.
Chill the cake again for fifteen minutes, then take a small offset spatula and pull that ridge inwards towards the middle of the cake, a short section at a time, wiping the spatula between strokes. Work around the cake rather than back and forth. What you are left with is a clean corner between the top and the side, and that corner is what makes a home-made cake look finished.
If it goes wrong
- Crumbs in the finish. The crumb coat was too thin, or it was not chilled until firm.
- The scraper is tearing the surface. The buttercream is too cold or too stiff. Let it come back to room temperature and beat it again.
- The buttercream is sliding. It is too warm, or the cake underneath is. Chill both.
- Air holes. Beat the air out by hand before you start, and press buttercream into any holes with the offset spatula instead of smoothing over them.
All of this is quicker to learn standing next to someone who does it every week. Layering, filling and smooth finishes is a class of its own: see our baking classes.